注意:此方法只适用于Windows XP操作系统,但其他操作系统设置也是略似相同,好好琢磨下,相信一定能成功。
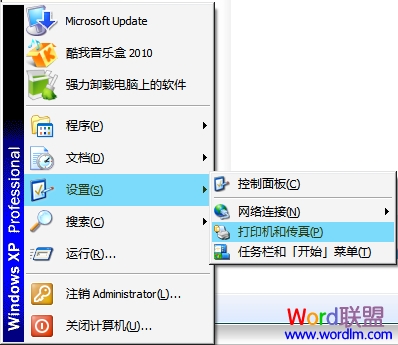
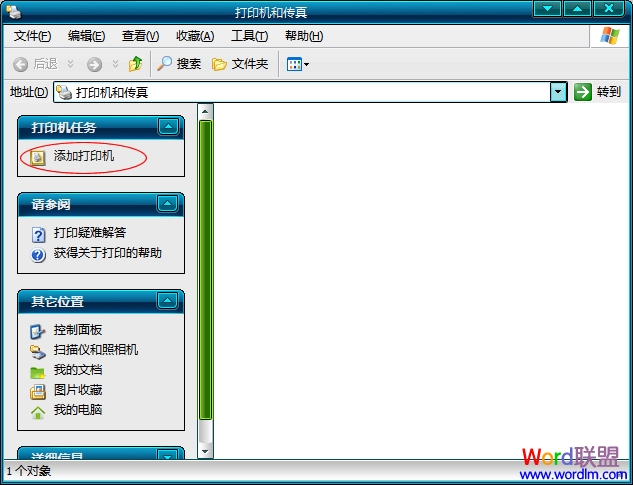
步骤一、在桌面的“开始”菜单中找到“设置”,选择“打印机和传真”;
步骤二、在“打印机和传真”窗口的右边选择“添加打印机”;
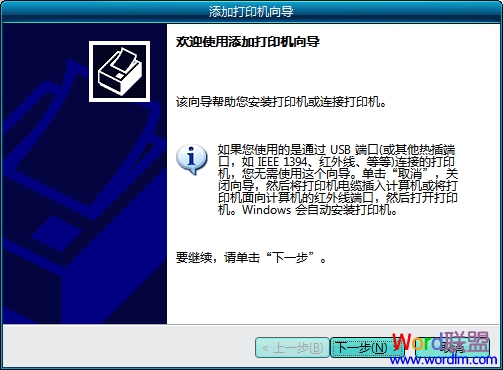
步骤三、此时会弹出个“添加打印机向导”窗口,选择“下一步”;
步骤四、这时会看到有两个选项,“链接到此计算机的本地打印机”和“网络打印机或连接到其他计算机的打印”。按自己需要选择了,如果你想连接到局域网打印机,就选择网络的,如果是连接到本地计算机,就选择本地打印机。这里我是局域网,所以给大家演示“网络打印机或连接到其他计算机打印”。
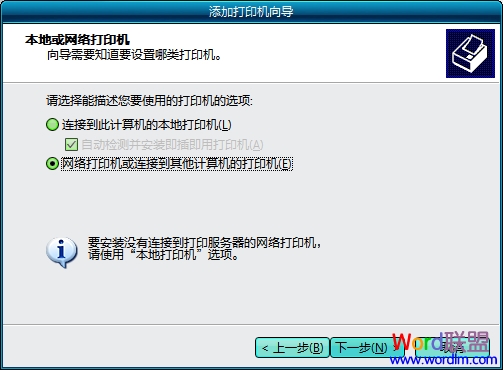
再次下一步
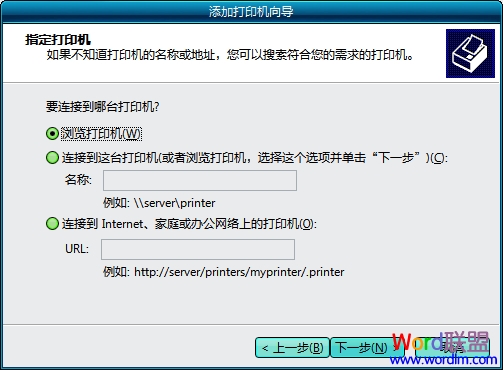
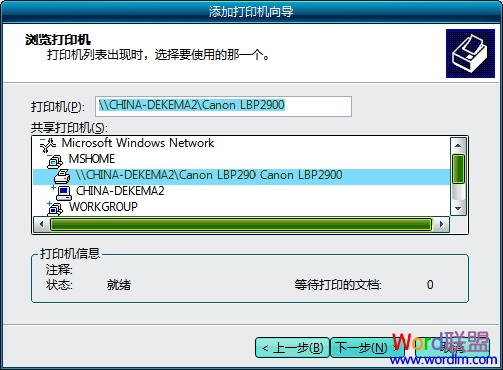
步骤五、在“浏览打印机”下面的“共享打印机”中选择需要设置为默认打印机的对象,然后双击选定;
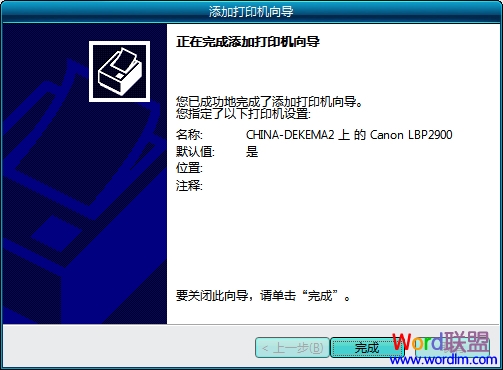
步骤六、马上会弹出个“选项卡”,选择“是”;

步骤七、终于大功告成了,“完成”即可。
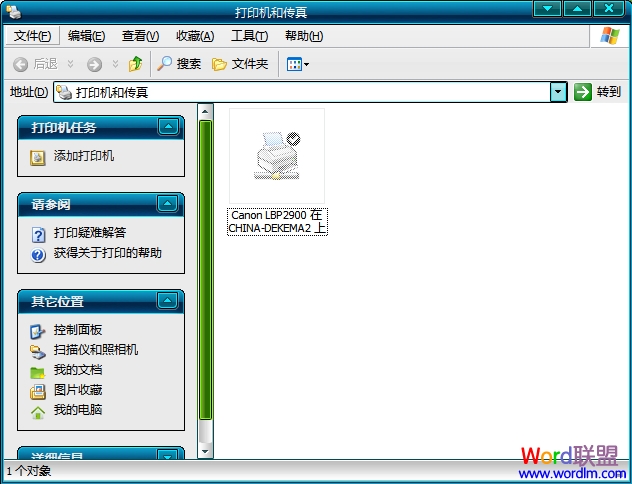
最后返回到,打印机和传真,你就可以看到,刚刚添加的默认打印机了。